If you’ve got a big garden that requires a lot of water, building a rain collector system can save you a hefty sum of money—plus, it’s great for the environment! Conserving water is a total win-win, and creating your own DIY barrel to collect rainwater really isn’t that difficult or expensive. A lot of water runs off your roof through the gutters, and setting up a barrel under the downspout will provide you with a steady supply of fresh water to hydrate your plants.
Now, you won’t want to simply set up an open barrel and call it a day. To avoid making a big mess and potentially bringing water toward your home’s foundation instead of away from it, you’ll want to have a lidded barrel with a faucet to pour the water into a watering can with ease. The barrel will also need a hole in the top to allow for overflow. To make your own rain collector system for watering your garden plants, follow these instructions for putting one together with inexpensive materials.
Installing a Tap In Your Rain Barrel
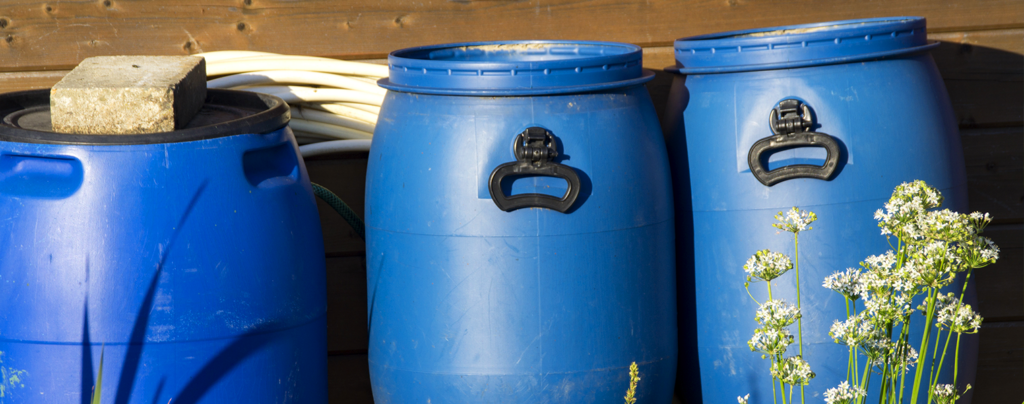
Naturally, the first thing you’re going to need is a plastic or wooden barrel. If you’re a little unsure of where to find a barrel, try the hardware store. Alternatively, you can often find cheap ones on Craigslist, or from independent businesses like vineyards, bottling companies, or car washes (they usually get their soap delivered in barrels!).
Once you’ve got your barrel, you need to install a faucet that you can turn on and off to collect the water in a watering can. Purchase a spigot from the hardware store that has a valve with a 1-inch diameter. This way, you can drill a 1-inch hole into the barrel to ensure a good fit. To secure the spigot in the hole with a watertight seal, place a combination metal washer (flat, metal donut) and rubber washer (tough rubber band) on the threads of the spigot, coat it with a waterproof sealant, insert the spigot into the hole you made in the barrel, and let the sealant dry for 24 hours before allowing water inside. Some folks have also used Teflon tape instead of waterproof sealant with good results. Once the sealant is dry, pop on another metal washer and rubber washer on the threaded pipe from the inside of the barrel, and then secure it completely with a hose clamp.
Make an Entrance and Exit Hole
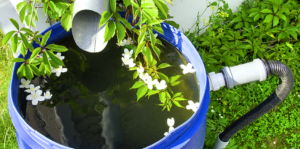
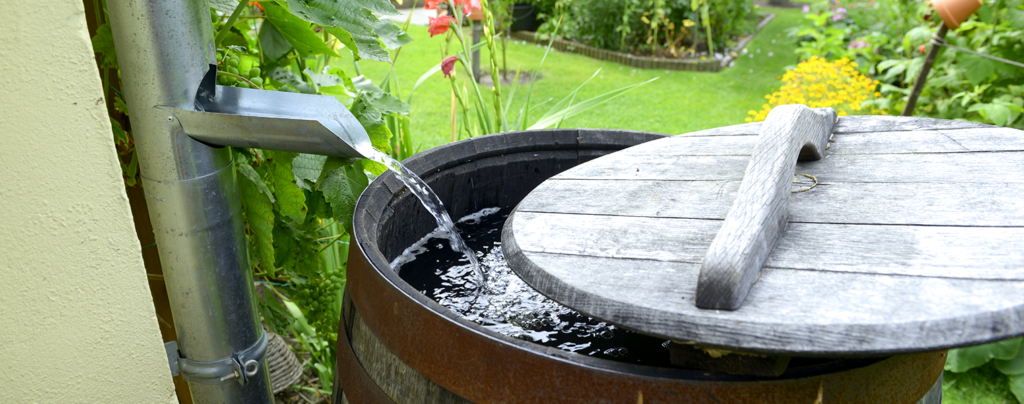
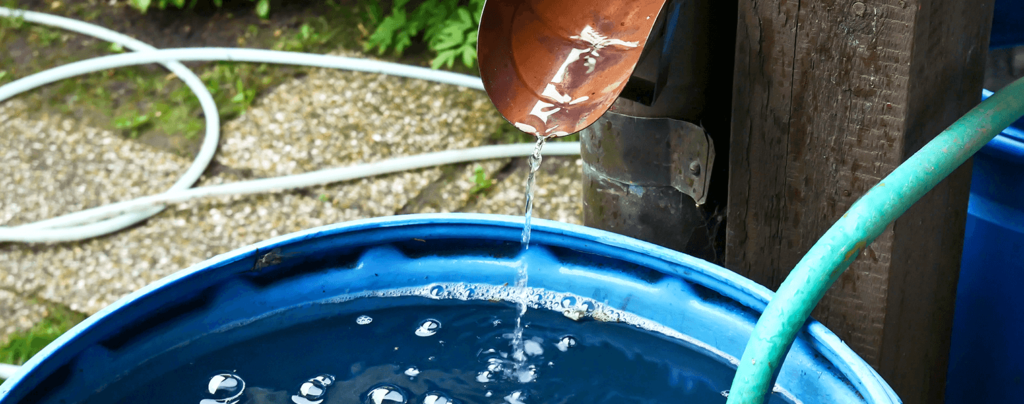
You’ll need a way for the water to go directly from your downspout into the barrel, so cut the pipe at a height high enough to place the barrel directly underneath. Take the lid of the barrel, cut a hole slightly larger than the diameter of the downspout, then line the inside of the lid with landscape fabric. The fabric will act as a sieve to keep any debris and insects from collecting in the water, but you’ll need to replace it periodically.
Next, drill a hole on the side of the barrel facing away from the house, one inch from the top of the lid. This will allow overflow to pour out. If you’re worried about the collector sitting too close to your home’s foundation, you can attach an overflow hose and direct it away from the house, or into another barrel. That’s pretty much it! Set your barrel up under the downspout, and you’re ready to start collecting rainwater for your garden.
We hope this technique helps you to reduce water waste and save some money on the water bill! There are still a few months left of our rainy season here in Fort Lauderdale, and all your fall vegetables and flowers need plenty of water, so now is the perfect time to start collecting. Speaking of fall vegetables, if there are any starter plants you’d like to pick up now for a winter harvest, drop by Living Color Garden Center or place an order over the phone for delivery or curbside pickup!