
These cooler winter months here in Florida are a great time to build some raised beds. Building raised beds is pretty simple, and you can do it with various materials such as wood, cinder blocks, bricks and stock watering tanks. It’s easier than you’d think!
How to Build a Wooden Garden Bed
Raised beds make gardening easier on your back, and it’s also easier to control watering and weeding. This blog will go through the instructions to build basic wooden raised beds. You’ll need a few tools and basic DIY-building skills for this project.

Tools you’ll need:
- Circular saw, or miter saw
- Drill
- Tape measure
- Square
Building supplies you’ll need:
- 2×4’s or 2×6’s, the number depends on how big your box is
- Deck screws
- Mesh hardware cloth
- Plastic sheeting
- Soil
Untreated lumber, cedar, or redwood is best for raised beds, especially if you’re going to grow edible plants in them. Untreated lumber will rot faster than cedar or redwood, but it will hold up for a few years at least.
Decide on the size of raised bed you want and how tall you want it to be. Cut four matching posts to the correct height from 2×4’s. If your bed will be a long rectangle, it’s a good idea to include another post or even two halfway down the long side for extra stability.
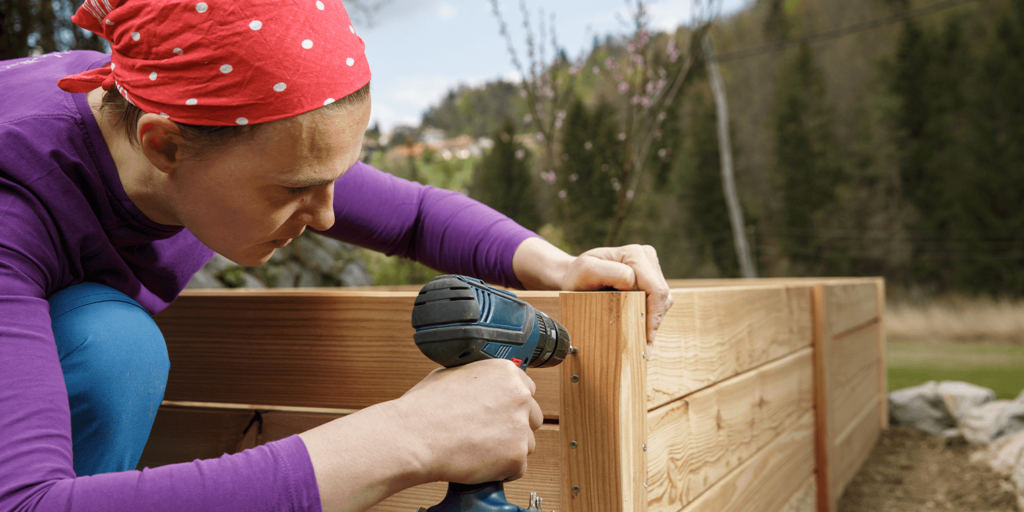
How to Build Your Raised Bed
Start by building your bed frame first—you can place it in your garden when it’s complete! Cut your 2×4’s for the sides to the correct length. Lay out the 2×4’s for one short end of your raised bed. If you have large clamps here, it will help hold the 2×4’s for the wall straight and tight together. Line up your posts on each end and attach them with the decking screws.
Next, lay out the 2×4’s for your longer sides. Attach your center supporting posts to the middle first; it’ll make it a little easier to handle.
Then, line the end of your long side up with the corner of your short side. You may want to pre-drill your holes here, so you’re less likely to split the wood.
Repeat this process with the remaining sides of your raised beds, and make sure everything is securely attached.
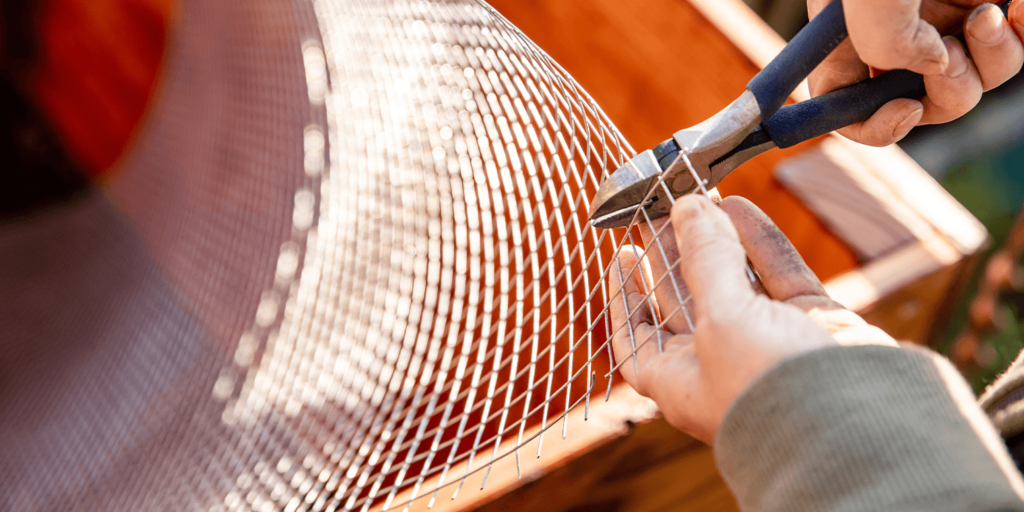
Last but not least, attach your mesh hardware fabric all across the bottom of the raised bed. The mesh creates a permeable membrane for water to drain and earthworms and microbes to come into the raised bed but prevents rodents from getting up inside and harming your plants.
How to Place Your Raised Garden Bed
Once your raised bed is complete, you’ll need to prepare the place to set your raised bed in your landscape. Using a sharp spade, dig out a space the size and shape of your raised bed about 1-2 inches deep. Remove all the sod if possible, and level the area so that your raised bed will sit flat and even.
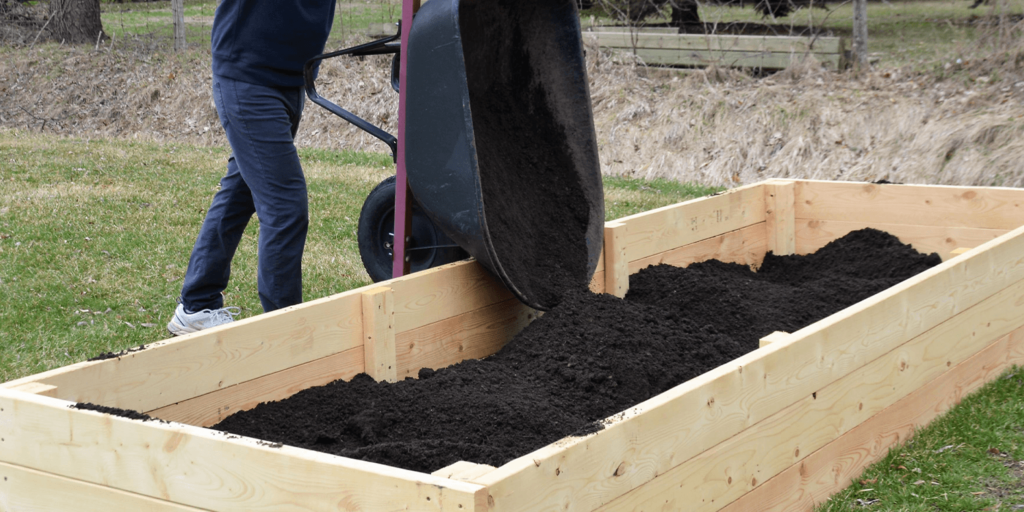
Once your space is prepared, set your raised bed frame into its new location and begin filling it with your soil. If you’ve got lots of compost, mix it in to improve the soil quality. Over the first year, the soil in your raised bed will settle quite a bit, so you’ll probably need to add more next year. It’s a good idea to add a decent layer of mulch on top of your raised bed to help retain moisture and regulate the soil temperature.
Lastly, get planting! Your garden bed is ready for you to work your magic and grow all sorts of good things.
Have you added raised beds to your Florida garden yet? If you’re not sure where to start, stop by our garden center and have a look around for some inspiration.